Tab Title
This website uses cookies. By continuing to use this site, you consent to the use of cookies and our use of Google Analytics for analytics purposes.
Tab Title
The Intersection Observer API is a powerful tool in web development that allows you to monitor elements’ visibility in the viewport. It’s commonly used for lazy loading images, implementing infinite scroll, and triggering animations when elements come into view. In this little guide, we’ll explore its basic usage, configuration options, and a practical example of using it to animate elements.
Begin by initiating a new Astro project using the following command:
index.html
<!DOCTYPE html>
<html lang="en">
  <head>
    <meta charset="UTF-8" />
    <meta http-equiv="X-UA-Compatible" content="IE=edge" />
    <meta name="viewport" content="width=device-width, initial-scale=1.0" />
    <!--Don't forget to import your styles  -->
    <link rel="stylesheet" href="index.css" />
    <script src="app.js" defer></script>
    <title>Intersection observer</title>
  </head>
  <body>
    <div class="card-container">
      <div class="card">
        <p>card 1: Lorem ipsum dolor sit amet</p>
      </div>
      <div class="card">
        <p>card 2: consectetur adipiscing elit</p>
      </div>
      <div class="card">
        <p>card 3: Vivamus commodo nisi</p>
      </div>
      <div class="card">
        <p>card 4: Nullam et justo et arcu</p>
      </div>
      <div class="card">
        <p>card 5: Duis ac sapien vel</p>
      </div>
    </div>
    <!--Don't forget to import your javascript  -->
    <script src="index.js" type="text/javascript" defer></script>
  </body>
</html>
index.css
.card-container {
  display: flex;
  flex-direction: column;
  justify-content: space-between;
  align-items: center;
  margin: 0;
  padding: 0;
  background-color: rgb(35, 30, 59);
}

.card {
  width: 80%;
  height: 50vh;
  margin: 2rem 0;
  background-color: teal;
  display: flex;
  justify-content: center;
  align-items: center;
  border-radius: 10px;
  box-shadow: 0 4px 6px rgba(0, 0, 0, 0.1);
}

.card p {
  color: white;
}Let’s start with the basics of using the Intersection Observer API.
// Step 1: Define a callback function
function handleIntersection(entries, observer) {
  entries.forEach((entry) => {
    if (entry.isIntersecting) {
      // Element is in the viewport
      // Add your logic here
    } else {
      // Element is out of the viewport
      // Add your logic here
    }
  });
}

// Step 2: Create an observer instance
const observer = new IntersectionObserver(handleIntersection);

// Step 3: Start observing a target element
const target = document.querySelector(".target-element");
observer.observe(target);
In this code:
handleIntersection, which is called whenever an observed element enters or exits the viewport.IntersectionObserver instance, passing in the handleIntersection function as a parameter.observe(target) on the observer instance to start monitoring it.The IntersectionObserver constructor can take an optional second parameter, which is an object with options. Here’s an example of how to use options:
const options = {
  root: document.querySelector(".scroll-container"), // Ancestor element to use as the viewport
  rootMargin: "0px", // Margin around the root
  threshold: 0.5, // 50% of the target element must be visible to trigger the callback
};

const observer = new IntersectionObserver(handleIntersection, options);To trigger animations when the cards come into view, we to change something in the css. We need to update the .card, add a new class called .show while will be used to animate the cards when they become visible
update your index.css as follows:
.card {
  width: 80%;
  height: 50vh;
  margin: 2rem 0;
  background-color: teal;
  display: flex;
  justify-content: center;
  align-items: center;
  border-radius: 10px;
  box-shadow: 0 4px 6px rgba(0, 0, 0, 0.1);
  opacity: 0;
  filter: blur(2px);
  transition: 0.8s ease;
  transform: translateX(-8rem);
}
.show {
  transform: translateX(0);
  filter: blur(0);
  opacity: 1;
}
Add the following code snippet to your index.js:
document.addEventListener("DOMContentLoaded", function () {
  // your instersectionobserver code here
  const cards = document.querySelectorAll(".card");
  const observer = new IntersectionObserver(
    (entries) => {
      entries.forEach((entry) => {
        if (entry.isIntersecting) {
          entry.target.classList.add("show");
        } else entry.target.classList.remove("show");
      });
    },
    {
      threshold: 0,
    }
  );
  cards.forEach((card) => {
    observer.observe(card);
  });
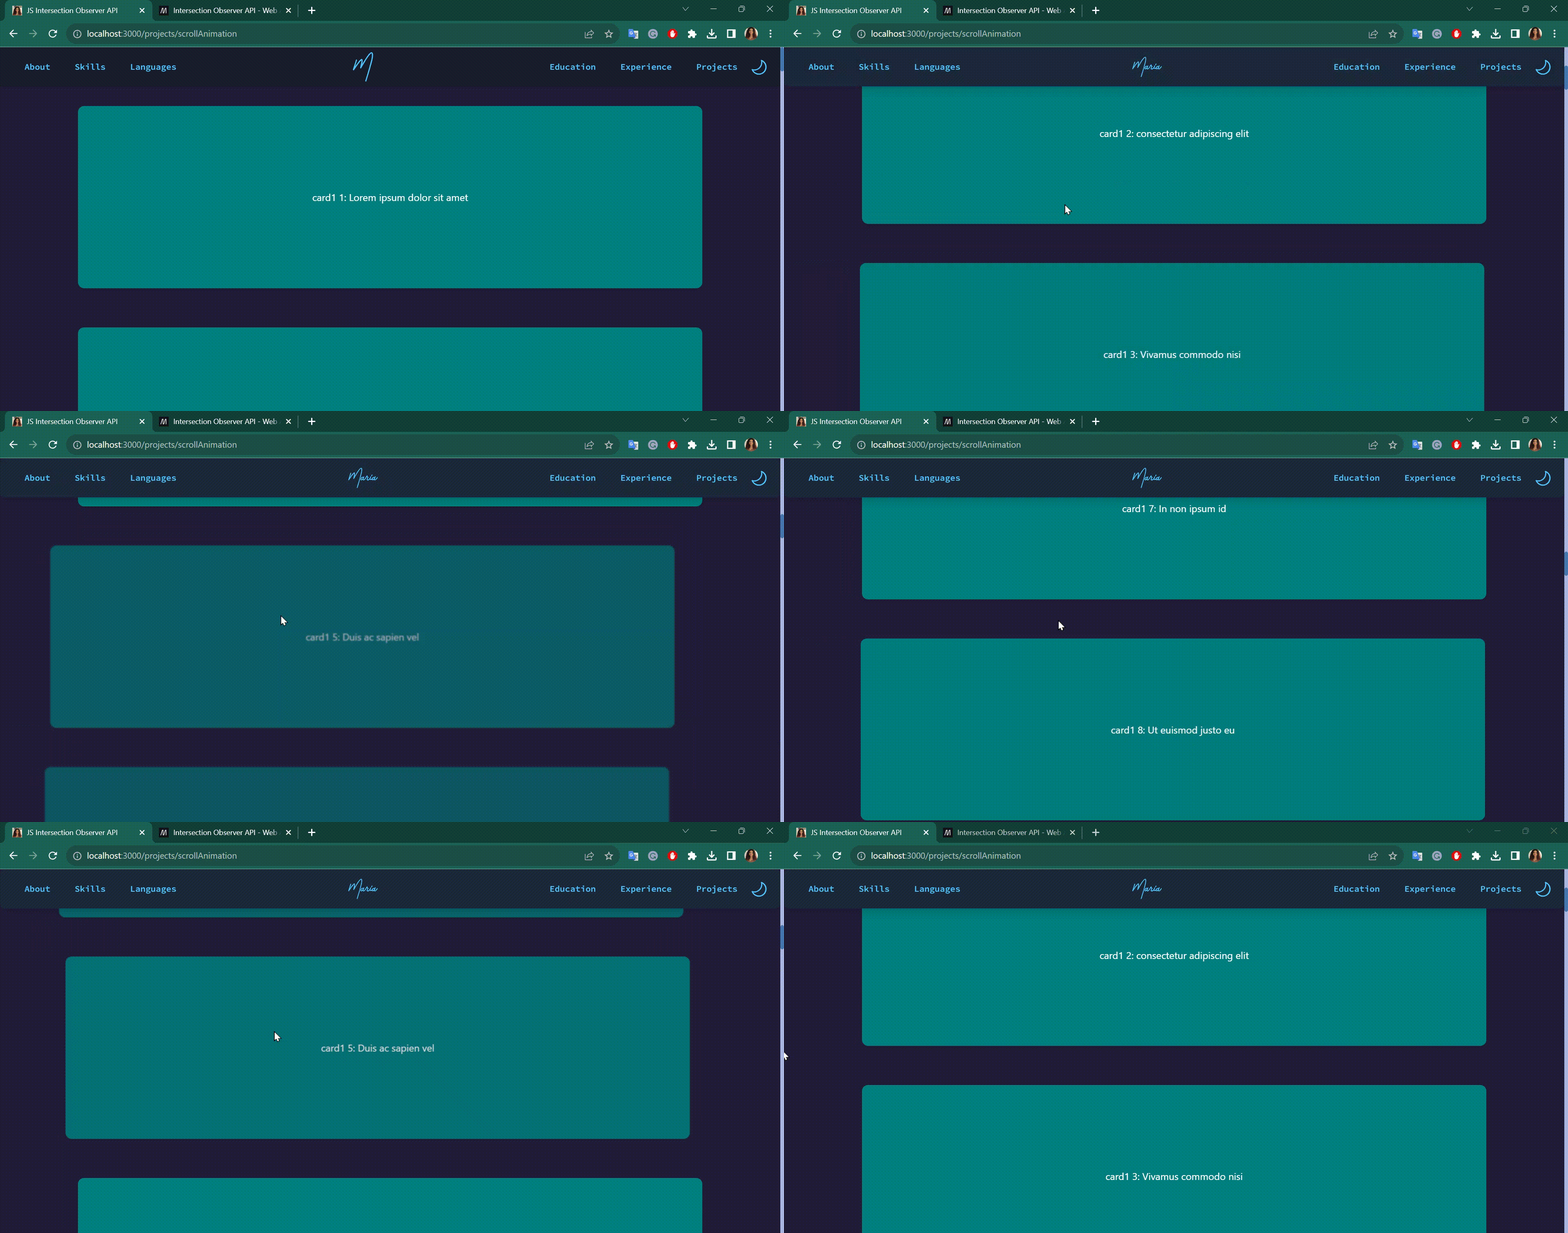
});By now, you should be able to see the cards animating into the viewport and should look something like this

Cross-Browser Compatibility
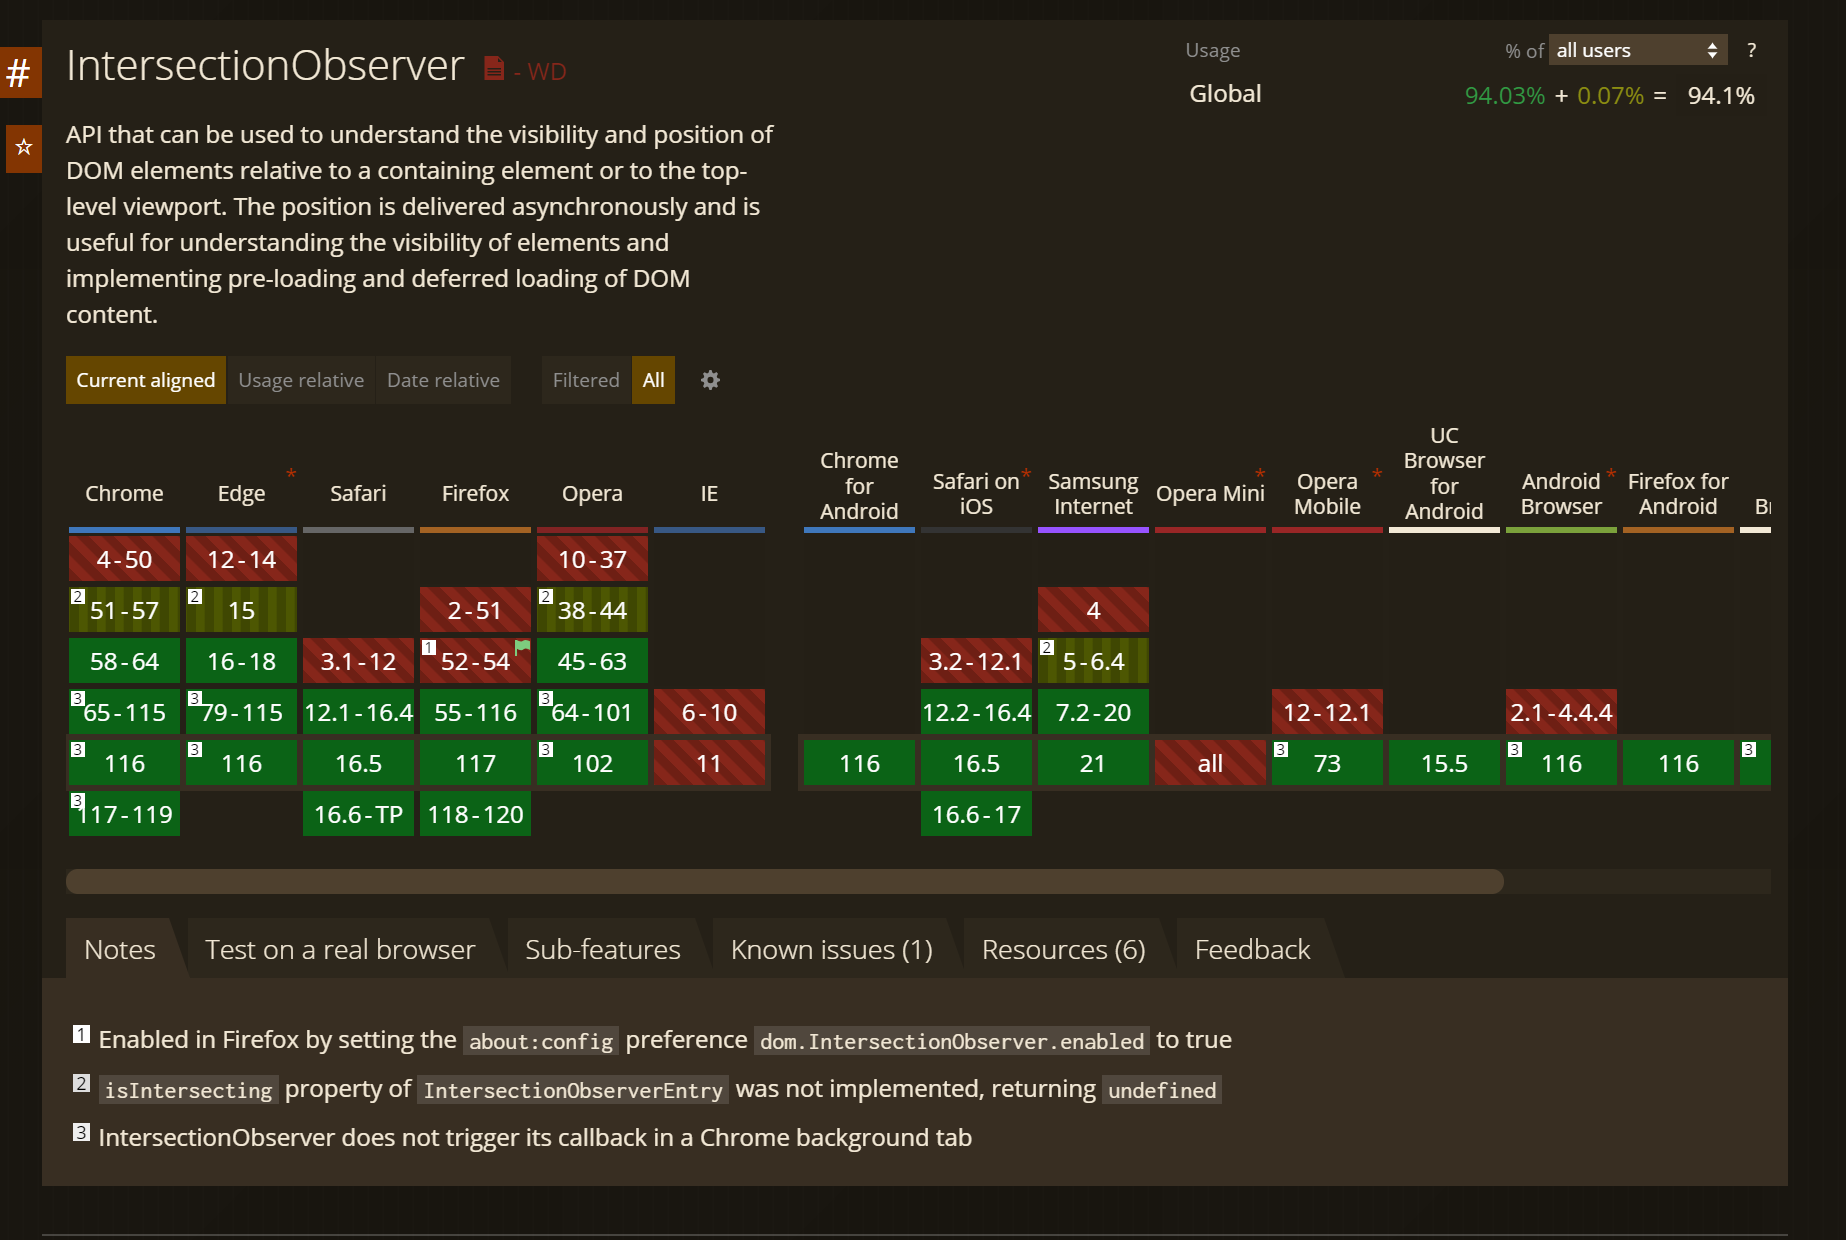
Before deploying your web projects using the Intersection Observer API, it’s important to consider cross-browser compatibility. While the API is well-supported in modern browsers, older browsers may not offer native support.

To address cross-browser compatibility, you can use a JavaScript library or polyfill like Intersection Observer Polyfill to ensure consistent behavior across various browsers. Simply include the polyfill script in your project, and it will provide support for browsers that lack native Intersection Observer support.
<script src="https://polyfill.io/v2/polyfill.min.js?features=IntersectionObserver"></script>In this tutorial, we’ve explored the Intersection Observer API, a powerful tool for monitoring and responding to elements’ visibility in the viewport. We began by setting up the HTML and CSS structure for our project, creating a foundation for implementing Intersection Observer.
Next, we delved into the basic usage of the API, understanding how to define a callback function, create an observer instance, and start observing target elements. We also discussed options like root, rootMargin, and threshold that allow you to customize the observer’s behavior to suit your specific needs.
To bring the concepts to life, we applied the Intersection Observer to animate elements as they entered the viewport. By adding and removing a show class, we achieved smooth and visually appealing transitions.
Lastly, we addressed the importance of cross-browser compatibility, ensuring that your web projects work seamlessly across various browsers by using a polyfill.